Success Page Format Uses and Considerations
A powerful tool for Formsite form owners is the Success Page. Choosing from the variety of formats, the form owner can show a basic message, add custom HTML and scripts, or redirect the visitor to a different place. The Success Page always appears after the form’s submission and there are three available formats.

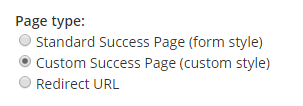
The Success Page format

- Standard: Uses the form’s style settings for a matching success page
- Custom: Allows adding custom HTML and/or scripts
- Redirect URL: Accepts any properly-formatted URL
Success Page Considerations
Choosing the format depends on what needs to be done. For example, the majority of form owners can choose the Standard format Success Page. This format displays a basic success page with a customizable message. The colors, fonts, etc. are all supplied by the form styles, making for an identical-looking page.
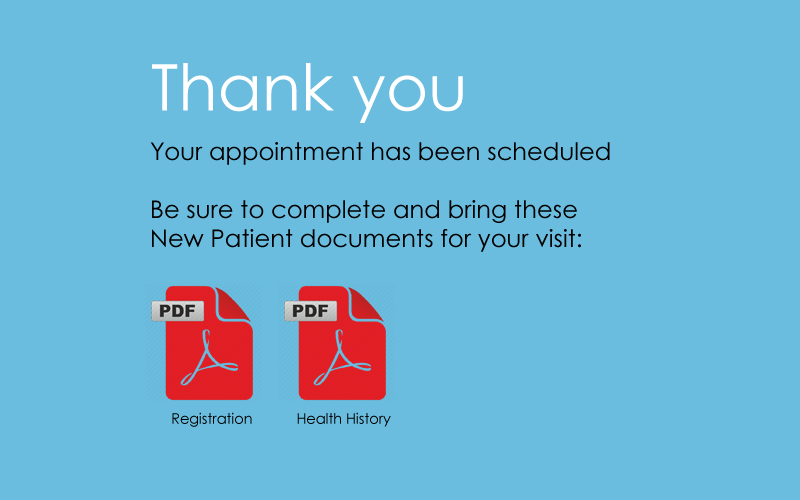
The Custom Success Page format is used for a couple of reasons. If there is a need to display the success page with a custom style or custom HTML, use this format. Also, if any custom scripts or tracking codes need to appear, the Custom format allows for entering custom code.
For example, to add a custom script or tracking code to the Custom Success Page, follow these steps:
- Create the visible part of the success page. Using the text editor lets form owners design the page, and the source code button shows the actual code.
-

Once the visible part is complete, deselect the setting to ‘enable text editor’ to show only the page code. The text editor will prevent some scripting so this step is necessary to avoid that.
- Add the code to the Success Page by pasting or typing into the code. Be sure to include the appropriate <script> and/or <style> tags.
The Redirect URL format lets form owners set a destination URL for the success page. This format is common with embedded forms to display a local success page rather than the Formsite-provided ones.

Other uses for the Redirect URL Success Page include:
- Connecting multiple forms and passing values using the Pre-populate link. Paste the Pre-populate link to another form and replace the default values with pipe codes.
- Restarting the form with some values retained to process another registration. Like the above example, this lets form visitors register multiple people with shared information. The Pre-populate link comes from this form, though.
- Sending the visitor to a destination for personalization or tracking purposes. The URL can be any properly-formatted URL and contain parameters to pass data. Using the pipe codes from the form lets form owners send any form data.