Workflow Mapping for Files & Special Items
The Workflow function allows for powerful combinations of forms like approvals, order processing, human resources processes, and lots more. The Workflow mapping function lets the system pass information between forms.
Many customers choose to copy the source form as the destination form, then map the items to pass the values. Most items allow mapping between items of the same type, for example, Short Answer items to Short Answer items. In a few cases, however, items cannot map to the same item type.
For example, the File Upload item allows form visitors to attach files to the source form, but making those files available later in the Workflow requires using different items to either display or provide a link to the uploaded files.
Workflow Mapping Files
Workflows with files, images, or Signatures need to choose the correct item to map to on the destination form:
 Signatures on source forms are typically displayed using Image items on destination forms
- File Upload items on source forms can map to either Description Text items (to provide the download) or Image items (to display the file).
Displaying files (Signatures and image files)
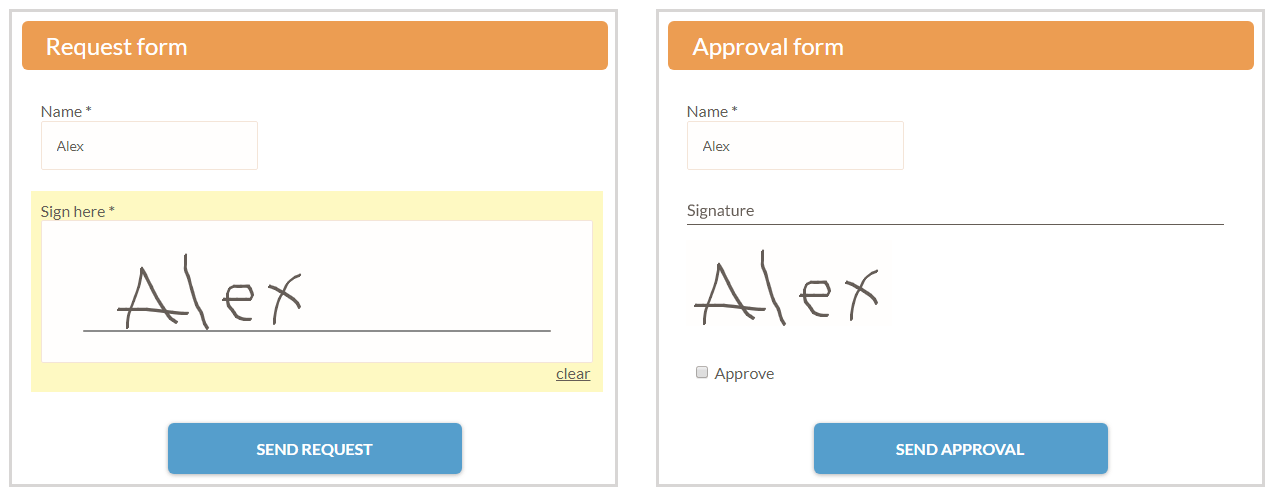
Scenario: This Workflow contains a contract as the source form and collects the applicant’s signature. The manager continues the Workflow and should see the Signature in the follow-up form.
- Start by creating the source form, then make a copy of the form for the destination.
- On the destination form, add a Hidden Field item to the top of the form to collect the file URL.
- Replace the Signature item in the destination form with an Image item.
- Use the pipe code for the Hidden Field item as the Image source.
- In the Workflow link, set the Workflow mapping to connect the Signature item to the Hidden Field item in the destination form.
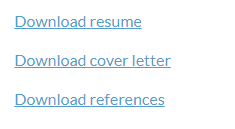
Linking files (documents and files to download)
Scenario: The Workflow starts with a form that collects the visitor’s supporting information, like a Word document with the description of the project. The project manager receives the Notification and continues the Workflow, clicking the link to download the attached file.
- As before, start by creating the form and copying the form for the destination.
- On the destination form, add a Hidden Field item to map the source form’s File Upload value.
- Replace the File Upload item on the destination form with a Description Text item.
- Click the link button in the text editor and use the pipe code for the Hidden Field item as the link destination.
- In the Workflow link, map the File Upload item to the Hidden Field item in the destination form.
Note that this method only works with single files so the File Upload item must limit the number of files to 1. Multiple files are supported with multiple File Upload items in the source form, and multiple Hidden Field items + multiple Image items in the destination form.
Other Special Items
 Calculation items are also not able to be mapped to Calculation items, but they can be mapped to Hidden Field items or Short Answer items.
- Matrix and Multi-scale items can not be mapped.