Word Mail Merge for Personalized Documents
Do you have a need for making custom personalized documents in Microsoft Word using your Formsite results? Consider your donation form or registration form — what if you could send every visitor a custom thank-you or confirmation letter with their information pre-filled?
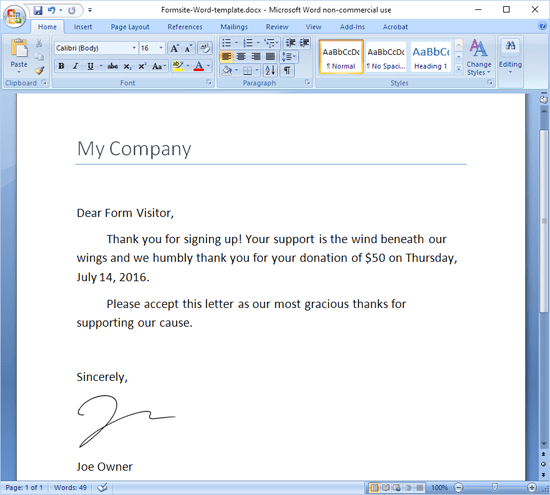
You can! Simply export your Formsite results and use them as a data source in Microsoft Word, then add individual fields to your Word document for a totally customized version of the doc. You can then run the project when you’re ready and Word will automatically create all of your documents for you.
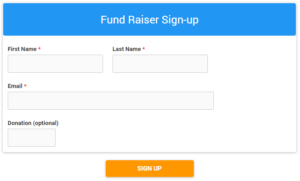 Start with your form
As always, we start by making our form. Make sure you’ve got the information necessary for your document and set the important parts to be required. We suggest you collect First Name, Last Name, and Email as required items, at the very least.
Create your Word document
Next, make your Word doc how you want it and include temporary placeholder text where you will eventually want to insert your form data. Feel free to add images, customize the fonts and colors, and do everything you want to make your document perfect.
Export your results
If you don’t already have results for your form, you can submit a couple of test results so you have some data to work with. After you have some results, go to Results -> Export and export your results using the default settings.
You can also use Results Filters to export a segment of your results, for example if you are mailing VIP visitors or only those that match some other criteria.
Mail Merge
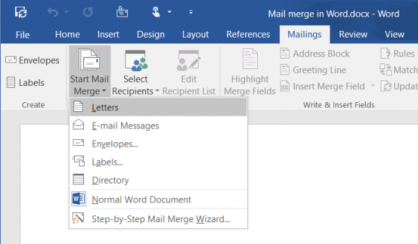
Here’s where the magic happens! In Word, start by going to the Mailings tab, select Start Mail Merge, then select Letters.
I’m using Word 2007 but the instructions are the same for virtually all modern versions of Word. Your version may look more like the bottom picture but the steps are the same.
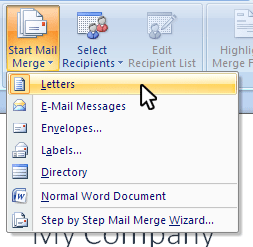
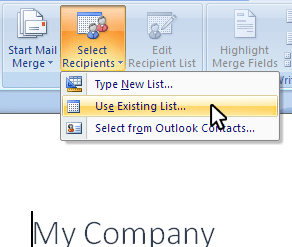
Next, click the Select Recipients button and choose the Use Existing List option. This will open a window where you can choose your exported results file. Then it will open a window showing the rows in your selected file and allow you to modify the recipient list.
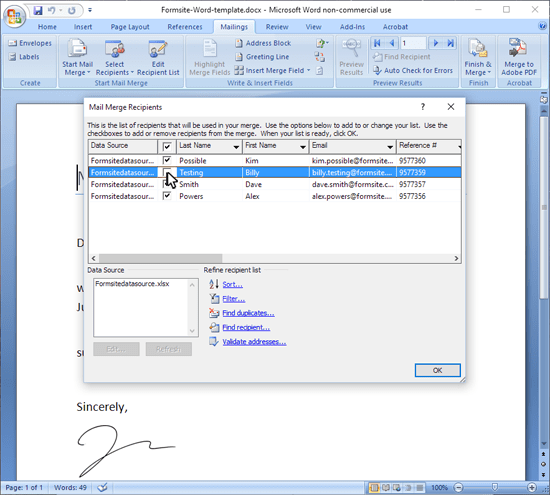
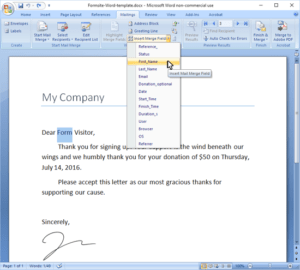
After you have your recipient list selected, the Write & Insert Fields tools become available. To map your results columns to your letter, start by highlighting the text in your document where you want to insert your data. Next, click the dropdown for Insert Merge Field and select the field you want to use and the document replaces your highlighted word with the necessary tag. Continue with the rest of the fields in your document.
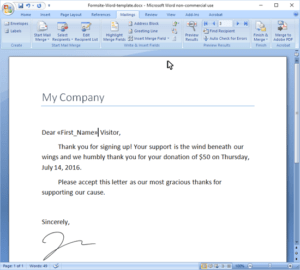
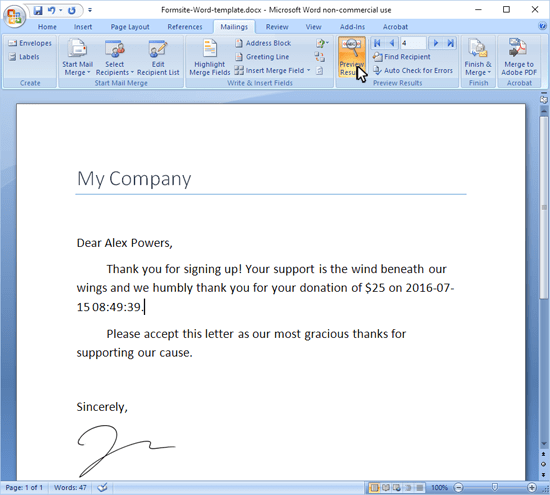
Clicking Preview Results will show you what your document will look like with real data.
Formatting
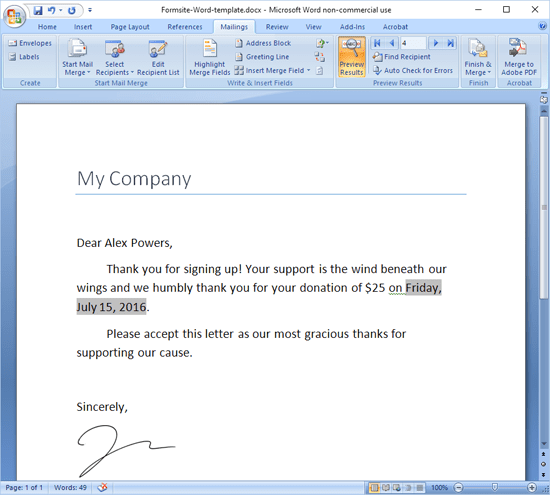
I want to change my Date format to be more readable, so I start by clicking into the Date Merge Field and pressing Shift + F9. Next, I want to change the text in the Merge Field to the date format I want to use. In this case, that text is:
{MERGEFIELD Date \@ “dddd, MMMM d, yyyy”}
The date shorthand codes are standard custom date formatting and you can see how to format the day, month, year, etc. at https://msdn.microsoft.com/en-us/library/8kb3ddd4.aspx.
Click the Preview Results button to see how it looks.
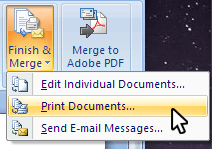 Finish
The last step is to either print each document or export to PDF, if available.
Source files for this example:
Formsite-Word-template.docx
Formsitedatasource.xlsx
Have fun and feel free to contact us if you have any questions.
