Send Email Notifications from a Gmail Account
Formsite form owners can send email notifications after every successful form submission. These emails are useful for keeping the owner updated and customer informed, but sometimes extra settings are desired.
For example, email providers require that all emails show the actual place where the messages originate. That means that Notification emails coming from Formsite always show ‘formsite.com’ in the From address. Some form owners prefer to send email notifications from their private or organization’s Gmail account instead.
Besides showing the organization’s identity, this method also retains a record of all emails sent. Viewing the Sent folder of the Gmail account shows every email sent using this system.
Luckily the Zapier integration has hundreds of Zap possibilities, including a Formsite to Gmail Zap.
Step 1: Setup
Access to the Zapier integration requires a Pro 1 or higher service level. If needed, make a new account from the Formsite home page and follow these steps with the Pro 1 Trial. Also required are a Gmail account and a Zapier account. Both are available for free from their respective sites.
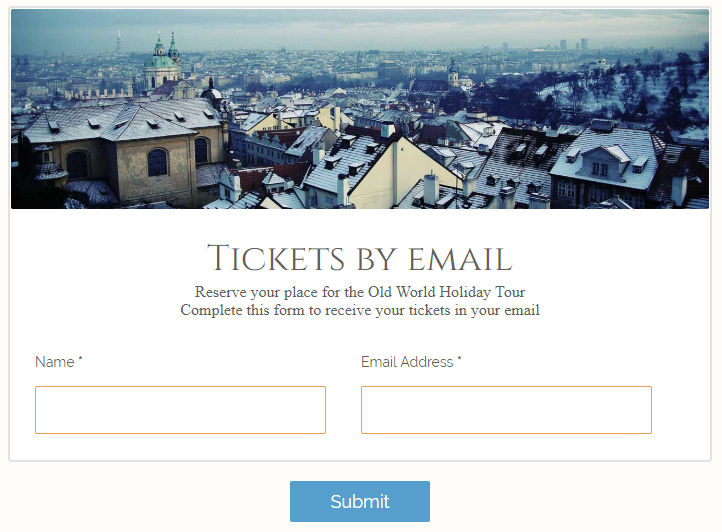
Complete the setup by building a form containing items including an Email Address item or use an existing form.
Step 2: Create the Zap
- Go to https://zapier.com/apps/formsite/integrations/gmail and click the button to connect Formsite + Gmail. If asked, log in to Zapier.
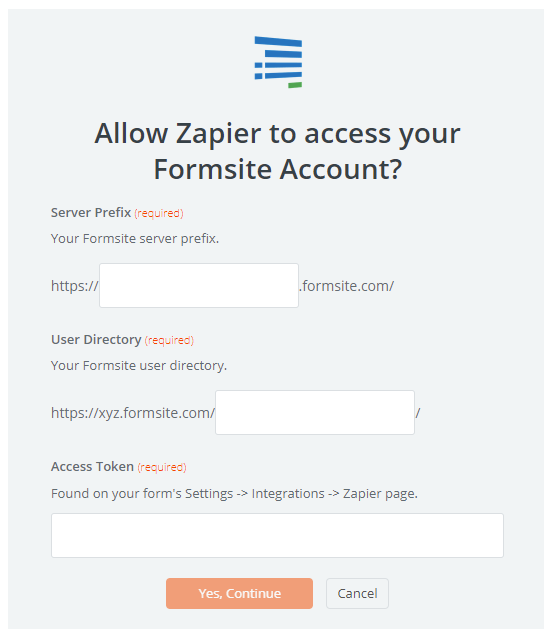
- Follow the steps to authenticate Formsite using the information from the Form Settings -> Integrations -> Zapier page.
- Continue setting up the Formsite connection by selecting the form and allowing Zapier to retrieve a result. If there are no results in the form, submit a test result so Zapier can see the format.
- Follow the instructions to connect the Gmail account, select Send Email as the action, then complete the Zap settings.
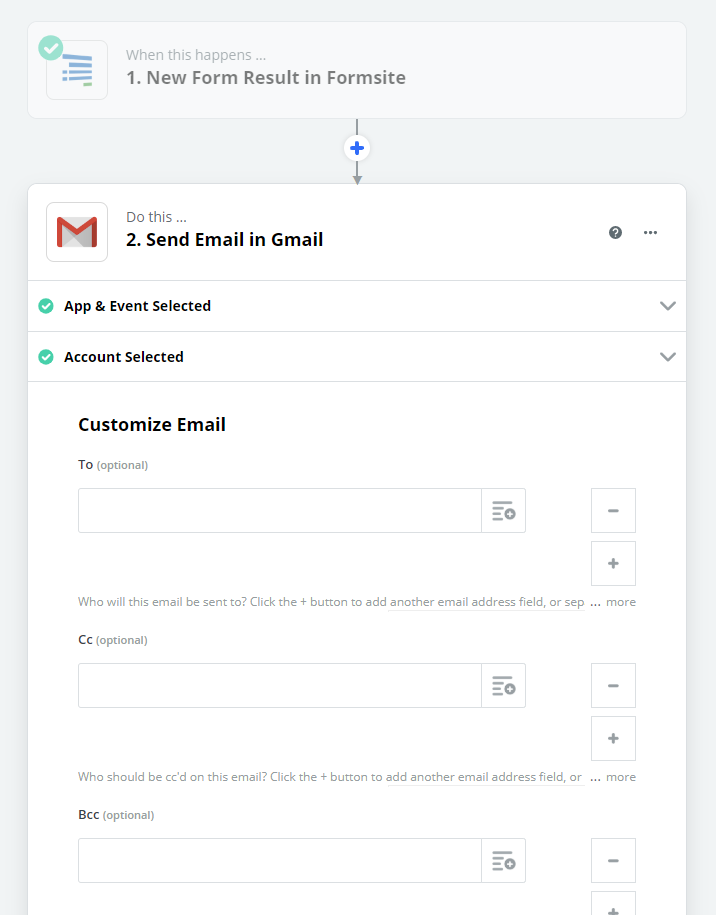
To, Cc, Bcc
Select the Email Address item from the form or enter a defined address to receive the messages. Also available are copies (Cc) and blind copies (Bcc).
From
This value will show as the email address the message comes from. It defaults to the actual email address for the account, which is most likely the desired value.
From Name
The ‘name’ refers to the text part shown before the email address in most email clients. For example:
Formsite <support@formsite.com>
Reply To
If a separate address needs to receive replies, setting the Reply To address will direct replies there.
Other available fields:
- Subject
- Body
- Attachments
It’s possible to send attached files with every email using this Zap, too. Either upload the file or enter its URL and Zapier does the rest.
Step 3: Send Email Notifications
Finishing the Zap setup sends a test using the settings entered to verify everything works as it should. Click the button to turn it on and everything happens automatically.
Every time the form receives a new successful submission, Zapier will trigger the Zap and send the email through the Gmail account. Note that incomplete results do not trigger the integration, only complete ones.
Gmail limits the total number of daily emails each Gmail account can send to 500, so consider setting up an email group if that limit is a concern. Read more about Zapier’s Gmail troubleshooting.