Send Email After Successful Payments

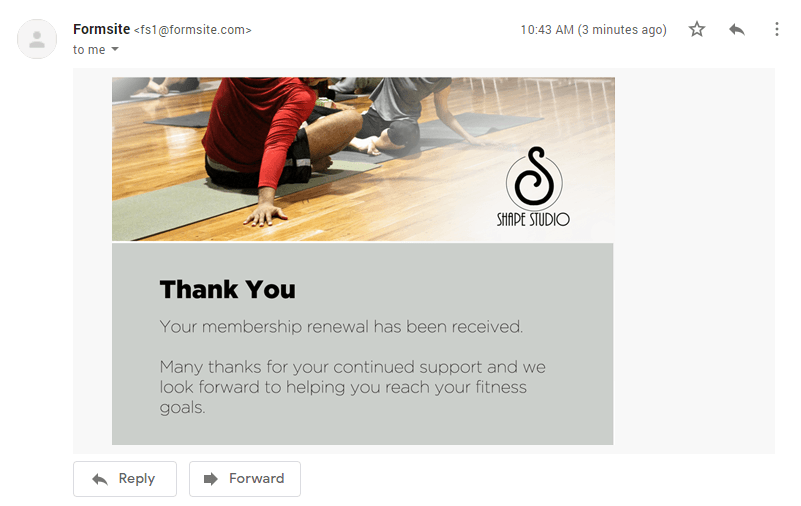
Formsite order forms allow form owners to collect payments for products or services. The payment integrations enable PayPal payments, credit cards, or paying by check for convenience. Sending receipts commonly occurs after successful payments using the form’s Notifications settings. Form owners can set the form to send email after successful payments or before, depending on the need.
Some examples of Notifications with order forms are:
- Order receipts (after the successful payment)
- Donation Thank-you (before the payment)
- Recurring subscription (before and after the payment)
Send Email Receipts for Online Orders

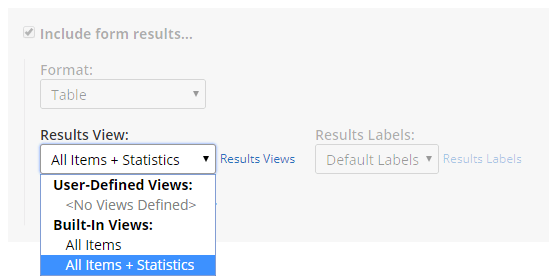
The most common Notification for order forms sends a receipt containing the order details. These details show in the form results and can include just the order details or also the result statistics. The Results Views lets form owners choose either the built-in “All Items + Statistics” or “All Items”. The statistics include the date, result status, order status, and other meta information.
The default timing for all forms sends the Notifications after successful submissions and before any integrations. Since Formsite’s payment integrations pass the order amount to the payment processor, the visitor’s activity may not return them to the form. Since we cannot guarantee that visitors will return, the Notification needs to be able to trigger before they leave.
Sending the Notification before they pay, however, means that the payment status appears as ‘incomplete’. Form owners need to use the Notification conditional logic to postpone the email until after the payment.
Notification Conditional Logic
Every form can have multiple Notifications and every one will trigger after each successful result. If the conditional logic is not enabled, the Notification will send. To only send under certain circumstances, use the conditional logic.
The conditional logic sets criteria for when each Notification should send. These criteria can be either an account action or result answers. Account actions include editing the Results Table or payment success, for example.

Send Email After Successful Payments
To delay the Notification to send email after successful payments:
- Go to the Form Settings -> Notifications page
- Select the Notification to edit or create a new one
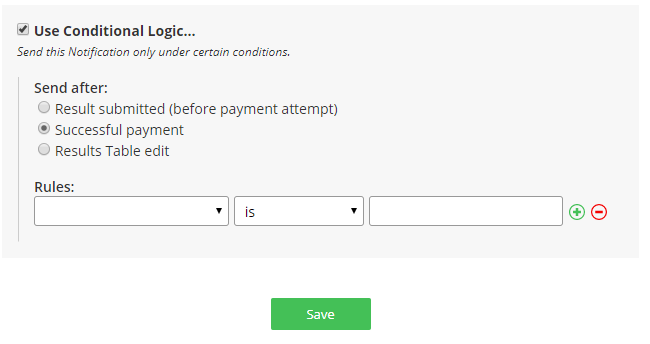
- Enable the conditional logic
- Select “Send after Successful payment”
- Optionally select specific conditions or leave blank
- Click Save
An example condition
Add an opt-in item to the form so customers can choose to receive an email receipt.
- Add a Radio Button item to the form with the settings:
- Question text: “Do you want to receive an email receipt?”
- Choices are “Yes” and “No”
- Set the conditional logic conditions to send when the item is answered “Yes”
