RSVP Forms and Other Event Registration Form Templates

Event organizers can collect event registrations online easy with Formsite. Optional additions include sending confirmation emails, adding to Google Calendar, and much more. Use the Pre-populate link to make RSVP forms and send to specific attendees, too. Formsite has many templates for all kinds of events and meetings to support every need.
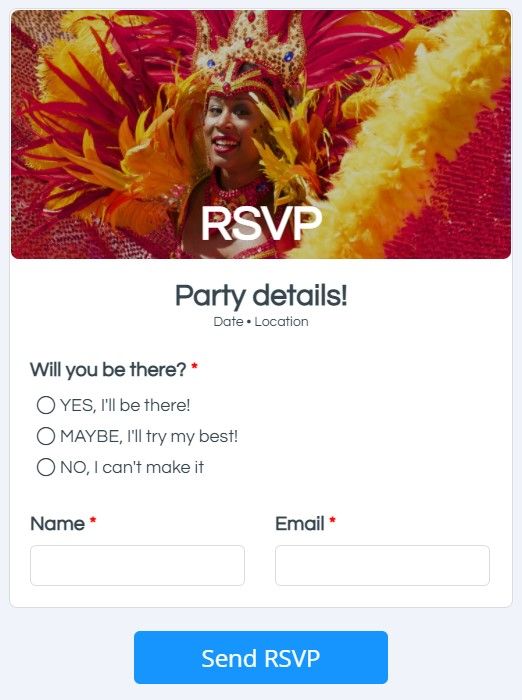
RSVP forms contain many similar items and features of registration forms. Often they appear as individual or blanket invitations and collect replies indicating the intent to attend. This is different from registration forms that display as a way to add an individual’s information to the attendee list.
Making RSVP Forms
Event organizers build event registration forms to collect attendee information. For events that send out invitations, recipients click a link to RSVP then complete the form.
The easiest option for passing the attendee information is through the Pre-populate link. For example, the form owner adds items to the form to identify attendees then the Pre-populate link pre-fills the form with the attendee data.
To make the form more user friendly, Hidden Field items can hide the attendee data but save with the results. This technique also allows for passing codes or referral data for enhanced analysis.
Send Confirmation Emails
Use Notifications to send instant emails to both the form visitor and the event organizer. The result data is optionally included and Results Views control the sent data. Pipe codes make personalization possible in the message, email subject, and optional Results Doc.
Conditional logic allows for sending individual Notifications under specific conditions. For example, make two Notifications and send ‘yes’ replies somewhere different than ‘no’ replies. To show a different Success Page to the form visitor based on yes/no answers, use Page Rules and multiple Success Pages.
Collect Event Payments
If the event needs to collect payments, the order form features allow for calculating and collecting payments. Use the items under the Order Form Items area in the form builder to change the order total, then enable a payment integration to connect to an account.
The payment integrations connect to the form’s Results Table to give a real-time view of every transaction’s status. Also trigger Notifications and other integrations after complete payments.
