Online Signature Options for Documents, Forms & More

Use Formsite’s online signature capabilities for collecting results with legal needs. Form results record the exact time and ip address of the user by default, which satisfies most validations. Users with higher legal attribution needs can use an integration with deeper data collection.
Examples of forms commonly using signatures include:
Online Signature Options
Signature Form Item
Formsite’s Signature item lets form owners collect signatures through the form itself. The item places a box on the form where the form visitor can draw their signature. The visitor can use their mouse, touchpad, or touchscreen to literally draw the signature. The image of the signature saves with the result and becomes part of the result. Notifications and other places that include results see the signature as an image.
Each result has its timestamp recorded and the visitor’s ip address to track when and where the visitor completed the form. For those who need the signature for visitors to verify their own submissions in the future, this option works well.

DocuSign and Other Integrations
Some users have a need for signatures on actual documents or from more than one person. The DocuSign integration works well for those scenarios. Since each signer is set up in the integrations settings, the integration makes sure the process continues to each step.
With DocuSign’s reputation, customers use them when the legal process needs following and steps attributed to each signer. See our earlier article on using DocuSign for how it works.
Formsite’s Integrations area contains other services that provide signature abilities through Zapier. Using Formsite as the source of the data, form owners can set up Zapier to process the data using one or more services. Find the settings for Zapier on the form’s Form Settings -> Integrations -> Zapier page, then set up zaps in your Zapier account. Zapier monitors the results and triggers the zaps when the connected forms receive new results.
Online Signature Simulations
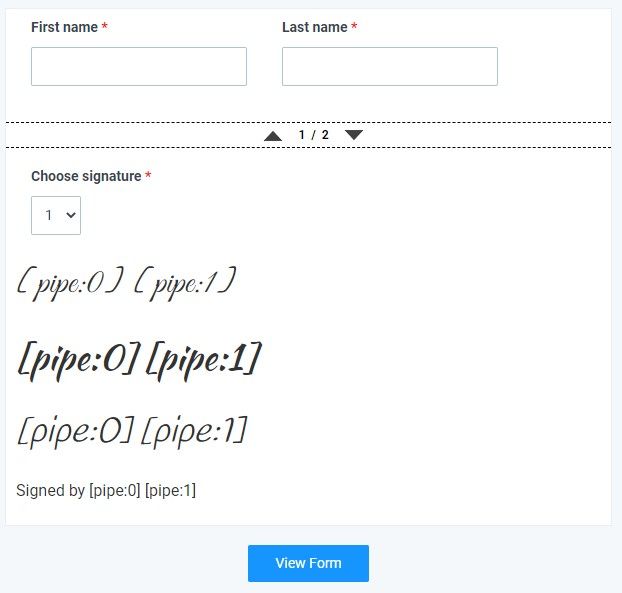
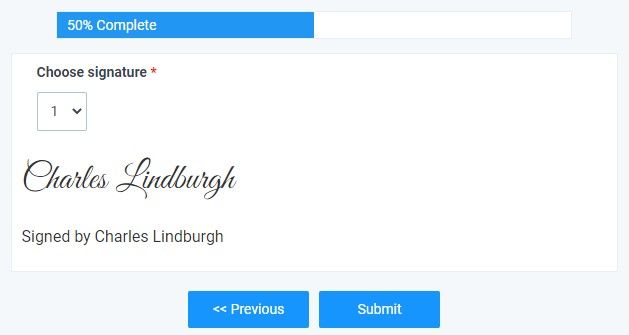
Some form owners don’t need an actual signature but prefer simulating signatures using a script font. Here’s how it works:
- Start by building the form with the form items as normal. The name can either collect in a single Short Answer item or as ‘first’ and ‘last’ names in two items.
- Be sure the name appears on a page before the ‘signature’ item to pipe the value correctly. Add Page Break items to create multiple pages.
- On a page after the name, add a Description Text item with the pipe code or codes for the name. To combine two items, add each items’ pipe code in the Description Text item.
- Highlight the text and use the Font Family and Font Size settings in the text editor to choose a suitable font and size. Script fonts make the name appear as a signature.
To allow the user a choice of signature, make copies of the Description Text item with different fonts, then add an item with those items as choices. For example, if there are three different script fonts, add a Dropdown item labeled ‘choose your signature’ with choices 1, 2, and 3. Then set rules on each signature to show when the visitor answers 1, 2, and 3.

