File Upload for Collecting Files with Formsite Forms
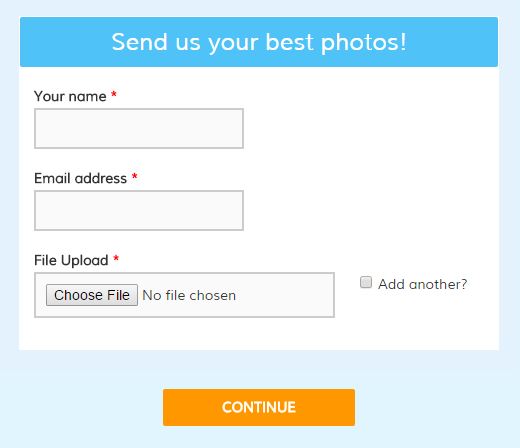
Some form owners have the need to collect uploaded files with their form results, as with registration forms, expense reports, contest entry forms, and many others. The File Upload item allows Formsite form builders to accept attachments with their forms. The most basic use of the item is easy to grasp, but there are some additional considerations and techniques that can be used to increase the usefulness of the File Upload item.

How to allow visitors to upload files
 The File Upload item is able to be added to the form in the form editor. Each item can accommodate multiple files.
The form owner can limit the size of the uploaded files through its settings in the form editor, which can help keep the file storage limit from being an issue. See the pricing page for more information on the file storage limit for each service level.
Accessing uploaded files
The attached files are available in the Results Table on each corresponding results row, and the files are able to be viewed individually by clicking the file name.
The Results -> Results Export page allows for downloading in bulk by clicking the Attachments link, then optionally using the Results Views and Results Filters to segment the results, then clicking the Export button.
Attached files in email notifications
The results will list any uploaded files as links to the attachments along with the other results information. Including the attachments with email notifications is possible by enabling the setting in your Form Settings -> Notifications page.
Seeing File Upload usage
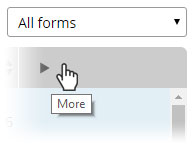
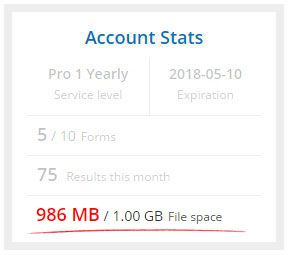
 Every service level has a limit on the amount of space allowed for uploaded files. The My Forms page shows the overall account usage in the Account Stats area, and detailed information on individual forms can be seen by clicking the More arrow in the table header.

Deleting uploaded files
 Important: Deleting form results also deletes any attached files.
To lower the amount of file space being used in your account, deleting results will also delete any attached files.
Alternatively, the files can be deleted separately from the results by going to Results -> Delete Results and checking the button for Only attachment files, then clicking the Delete button.
Once the file has been deleted, any links in previous emails will no longer work because the file will no longer exist. Be sure to export the attached files if there’s a chance they’ll be needed in the future.