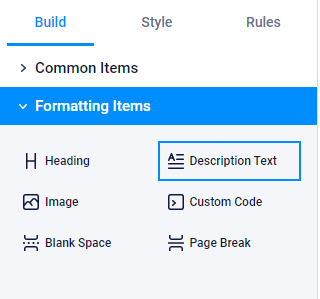
Description Text Formatting and Custom Styles

The Description Text item lets form owners add formatting content to their forms. This content is text content, images, and sometimes custom code. As with the Custom Code item, the Description Text content does not collect answers so they appear as formatting items, not input items. Considering that they are not input items, they do not appear in the results but only on the form itself.
Examples of content added with the Description Text item:
- Logos, products, or other branding elements
- Heading or introductory text at the top of the form or each page
- Terms and conditions for registration forms
- Answers entered into previous questions using Piping
The Description Text Parts

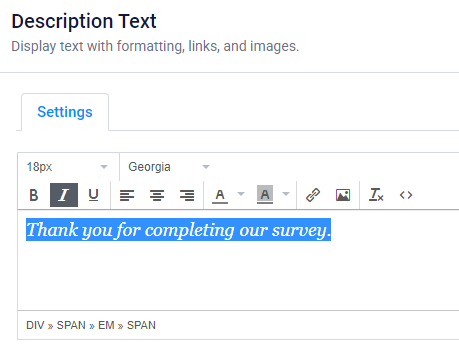
The item’s settings window contains the text editor used with the Notification message, Success Pages, and most other pages. The text editor lets form owners enter their text and include familiar Rich Text settings. These settings include choosing the font face, size, color, and decorations like italics, underlining, etc.
Other notable Rich Text enhancements include:
- Links
- Images
- Source Code
Formatting Description Text Content

The text editor provides buttons for choosing the desired fonts, sizes, and colors. Apply basic formatting by typing the content, then highlighting the text and choosing the desired settings. For customizing text beyond the provided settings, form owners click the Source Code button and add inline CSS.
For using the Description Text item to include images, those formatting tools appear when clicking the image button. Use those settings to set the images’ sizes and optional links, too.
Styling the Whole Form
While you can use the text editor to set each item’s font, color, etc., the best place to set your entire form’s text attributes is on the form’s Style page. In the Form Editor, find the Style link at the top of the left column then set your form’s styles there.