Approval Workflow with a Single Formsite Form

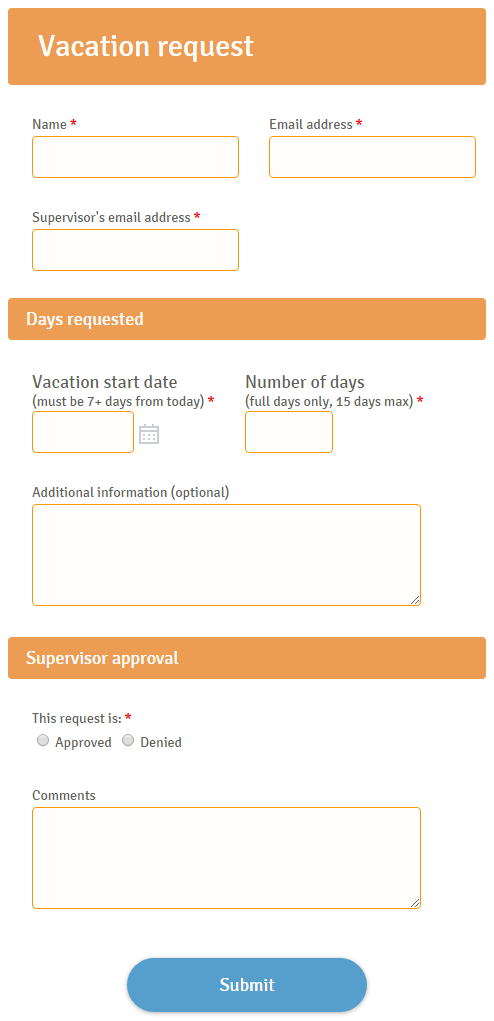
A popular use for the Workflow features is to collect an approval for a form submission. The approval Workflow begins with the initial form submission, triggering the Notification email. The email contains the link for the approver to view the request and approval items.
Creating a copy of the form just for an approval can take up valuable form space, though. Using the same form for the approval Workflow is possible using Rules to show the approval items.
A previous article outlines the typical Workflow setup using two forms. (See Workflow Forms for Approvals & Follow-ups). Using a single form is possible and keeps the results together in the same Results Table.
Create the Form

- Create the form using a template or blank form
- Add the form items for the request in the form builder
- Insert the approval items at the bottom
- Add a Hidden Field item as an approver trigger
- Create Rules on the approval items to show when the approver is viewing the form

This method uses a Hidden Field item as a trigger to display the approval items when they’re needed. Using Rules to check the Hidden Field item shows the approval items when the Hidden Field isn’t blank. The Workflow link lets us activate that trigger.
Build the Approval Workflow
- Go to the User menu -> Workflows page
- Create a new Workflow, then create a new Workflow Link using the same form as the Source and Destination
- Map the items to their corresponding items except for the Hidden Field item
- Map any required field to the Hidden Field item
- Save the Workflow Link

Using the Workflow Link to pass a required value to the destination form ensures that the Hidden Field is not blank. The Rules will then use the trigger item to display the approval items.
Finish the Workflow and Test
The final steps include adding notifications to the form to accommodate all steps.
Create the following Notifications:
- The first Notification goes to the approver from the initial user and contains the Workflow link
- Notification 2 goes from the approver to the initial user with the response (approver or deny)
- The third Notification is optional and goes to the supervisor or HR department for further processing
Create the conditional logic:
- The first Notification sends only if the Approve/Deny item has no answer
- Notification 2 only sends if the Approve/Deny item has an answer
- The third Notification only sends for approved requests.
Test by completing the form, clicking the link in the Notification email, completing the approval process, then verifying everyone received the correct messages.