Workflow Enhancements For Easy Setup & Use
A powerful and popular Formsite feature is the automated system for connecting forms, which we call Workflow. We have recently published some Workflow enhancements to help make this popular feature even more usable. For those who are unfamiliar with the Workflow feature, an example of a Workflow is an approval process:
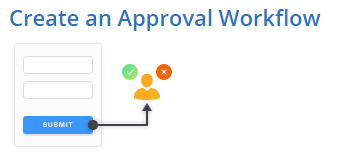
- The form visitor submits the first form,
- Triggering an email to the supervisor with a link to the second form,
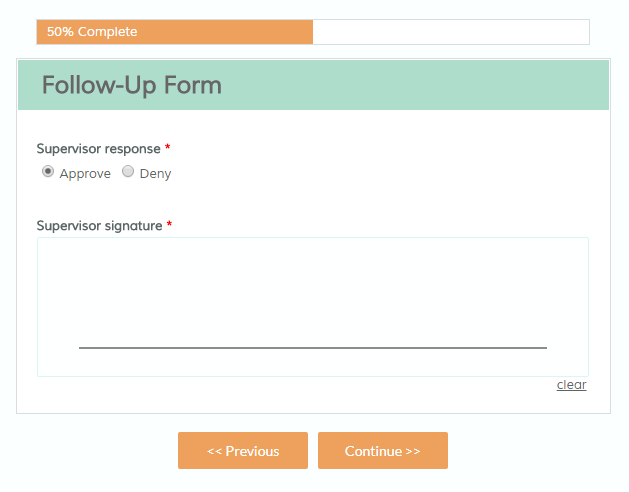
- That the supervisor approves or denies, then submits the second form
- The supervisor’s answer optionally returns to the original visitor and/or forwards to others for further processing.

Workflow Enhancements
The Workflow enhancements for the most recent release includes:
- New Workflow templates
- Ability to map images & Signatures
- Automatic Workflow folders
Workflow Templates
 The most highly anticipated Workflow enhancement is the addition of Workflow templates. Creating a new form gives the form owner the ability to choose a template, and now the Workflow templates allow for fast and efficient Workflow creation.
By clicking the Create New Form button and selecting the Templates as a starting point, a new Workflow template option is available. In the Workflow folder, form owners can choose from a short list of common Workflows: Approval, Approval with Logic, Forms package, and One form-to-many. Each option provides more information before making the final choice.
Once the choice has been made, the Workflow template is created in the account and instructions for completing the Workflow setup are added to the My Forms page.
Workflow Image Mapping
Form owners who use Workflow can now use the Workflow Mapping to pass images and Signatures between forms. This Workflow enhancement allows for easier and more complete workflows with the addition of more content passing between forms.
Previously, images and Signature items were not able to be selected in the Workflow Mapping. This enhancement allows Workflow to successfully pass the image links from one form to another.
How to map images in a Workflow:
- On the source form, insert a File Upload item or a Signature item
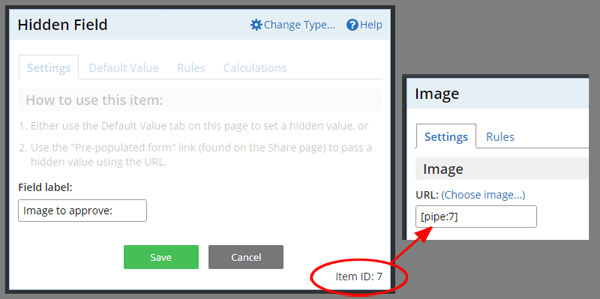
- On the destination form, insert a Hidden Field item
- In the Workflow Form Mappings page, select the File Upload or Signature item from the source form and map it to the Hidden Field item on the destination form

- Add an Image item after the Hidden Field item on the destination form, then insert the pipe code for the Hidden Field item as the Image item’s URL

Note: The editor displays an error that the source item must be on a page before the destination item. This error can be ignored.
- Test the workflow to verify the settings
Workflow Folders
 Another newly-added Workflow enhancement is the automatic creation of form folders for Workflows. The My Forms page displays the full list of the account’s forms, and this new addition automatically creates folders for the Workflow-connected forms.
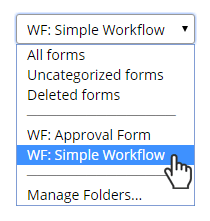
Every Workflow in the account automatically receives its own folder group upon the Workflow creation. To see the forms within each Workflow, click the folder dropdown at the top-right of the My Forms list and select the Workflow needed.
When editing and testing Workflow forms, using the Workflow folders feature to navigate retains the Workflow folder every time the My Forms page is viewed. To see the full list, click the folder dropdown and select All Forms.